Food waste is a chronic problem in America. While the world wastes about 1.4 billion tons of food every year, the United states disposes of more food than any other country in the world: close to 40 million tons every year. That’s estimated to be 30-40% of the entire US food supply! Food is the largest componenet taking up space in US landfills, or 22% of solid waste. During the pandemic the numbers have increased.
There are simple solutions! Planning your shopping and getting only what you need, eating your leftovers, and composting! See below for the details.
#1: Plan Your Shopping and Understand Expiration Labels
Plan your shopping!
- Go shopping in your own cupboards and fridge first.
- Make a list.
- Have a snack before you go shopping.
- Plan to get your food home promptly.
As you shop:
- Stick to the list
- Shop the Perimeter. You’ll find the freshest items with the highest nutrient- density.
- Shop for produce last to prevent it from getting crushed.
- Consider purchasing ugly produce.
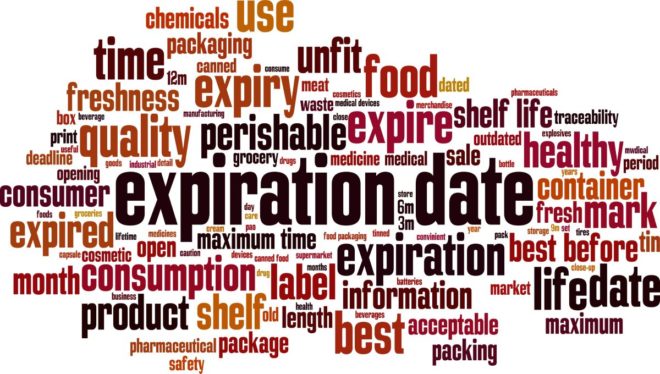
To understand expiration date definitions by the USDA, these are the most common:
SELL BY DATE. This date tells the retailer how long to display the product for sale.
BEST IF USED BY DATE. This date is recommended to enjoy the best flavor or quality of the food. This date does not indicate safety of the food’s consumption.
USE BY DATE. Determined by the manufacturer, this is the last recommended date for the use of the product while at its peak quality.
Source: Food Waste America

#2: Eat Your Leftovers and Store Food Properly
General food storage best practices include:
- Take perishable food home and refrigerate it immediately. Freeze the food if you can’t use it within the times recommended by the resources mentioned above.
- Check labels for storage information. If the food is best stored in a dark place, store it in a dark container, or place a clear container in a dark cabinet or drawer.
- When storing food, use clear containers that allow you to identify the contents or label them.
- Separate very ripe or moldy fruit, as it emits ethylene gas that will quickly spoil other produce.
- Wash produce just before preparation or eating. This will prevent premature spoilage due to moisture.
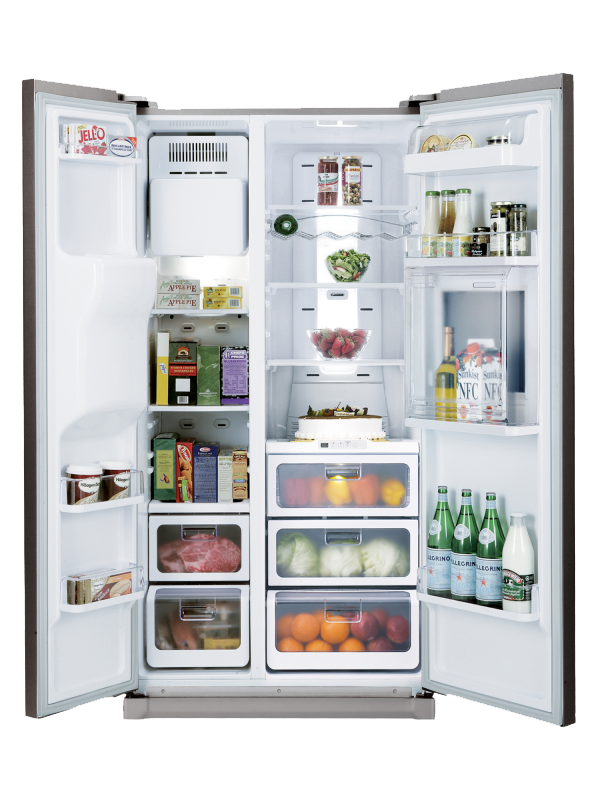
Best practices for storing food in specific areas of your refrigerator and kitchen:
- The refrigerator: Make an “Eat This First or Eat Soon” sign to indicate what needs to be used up.
- Look at your refrigerator’s temperature indicator (or purchase a thermometer for placement inside). The best temperature for your refrigerator is 40° F. When the refrigerator is too cold, delicate food like salads can freeze. If the temperature is too warm, food can spoil more quickly or pose a health risk.
- The temperature varies throughout your refrigerator. A refrigerator is generally coldest at the bottom and gets warmer at the top, with the warmest area being the door.
- Arrange your food items so that you can easily see everything and keep like foods together. How many times have you opened a new jar of salsa only to find a half-eaten one hidden at the back of the fridge?
The upper shelves:
- This is a good space for leftovers, drinks, yogurt, and healthy snacks that you want to keep in plain view.
- Keep a container or basket to hold small tidbits that may get lost and forgotten.
The bottom shelf:
- Foods like meat, poultry and fish have a higher safety risk and do best in the coldest area of the fridge. Storing them on a low shelf also reduces the risk of contamination if they leak.
- Crisper drawers. This area creates a separate humidity zone from the rest of the refrigerator.
- Adjust the drawers so that you have one high-humidity drawer and one low-humidity drawer.
- High-humidity is best for vegetables, especially those likely to wilt. Foods that depend on water to keep their structure (for example, greens, cucumbers, and carrots) do best here and will stay perky longer.
- Shelf life is lengthened by cold temperatures that slow food’s respiration, or breathing process. But don’t stop the breathing altogether by sealing fruits and vegetables in an airtight bag, as they will rot faster.
- Low humidity is best for fruits and vegetables that rot easily (berries, grapes, mushrooms, peppers and avocados). Since apples, pears and bananas give off ethylene gas as they ripen, it’s best to keep them in an area with better air circulation so that the gas isn’t trapped. Trapped ethylene speeds up the ripening process of other foods.
Cheese drawer:
- Fatty foods, like cheese, often absorb the odors of other foods in the refrigerator. Isolating cheese prevents waste and odor absorption.
The refrigerator door:
- The door is the warmest part of the refrigerator and is exposed to the room’s temperature every time it is opened.
- Condiments can store well here.
- Do not store anything perishable in the door, including eggs (even if there is a compartment for them).
The freezer:
- Freeze food that you won’t be able to eat before its expiration date.
- Perishable products kept frozen continuously are safe indefinitely. Bacterial growth and enzyme activity are the two things that cause food to spoil. Foods last longer when dried or placed in the freezer because one or more of the following conditions are removed: moisture, warmth and, for some foods, oxygen.
The counter, cabinet or drawer:
- Store onions, garlic, potatoes, mangos, papayas and pineapples in a cool, dark place
Source: Portland Master Recycling

#3: Composting
Making compost creates nutrient rich soil you can use in your garden, It reduces the massive amounts of waste in landfills that produce the most potent greenhouse gas, methane.
Listed below are three options:
Curbside Composting:
- If your city offers curbside composting, study the guidelines for what is accepted in those compost bins so you aren’t contaminating the compost and causing it to get thrown in the landfill.
Backyard Composting:
- Select a dry, shady spot near a water source for your compost pile or bin.
- Add brown and green materials as they are collected, making sure larger pieces are chopped or shredded.
- Moisten dry materials as they are added.
- Once your compost pile is established, mix grass clippings and green waste into the pile and bury fruit and vegetable waste under 10 inches of compost material.
- Optional: Cover top of compost with a tarp to keep it moist. When the material at the bottom is dark and rich in color, your compost is ready to use. This usually takes anywhere between two months to two years.
- Leave out meat, grains and bones. These will rot and attract rodents.
Indoor Composting:
- If you do not have space for an outdoor compost pile, you can compost materials indoors using a special type of bin, which you can buy at a local hardware store, gardening supplies store, or make yourself. Remember to tend your pile and keep track of what you throw in. A properly managed compost bin will not attract pests or rodents and will not smell bad. Your compost should be ready in two to five weeks.
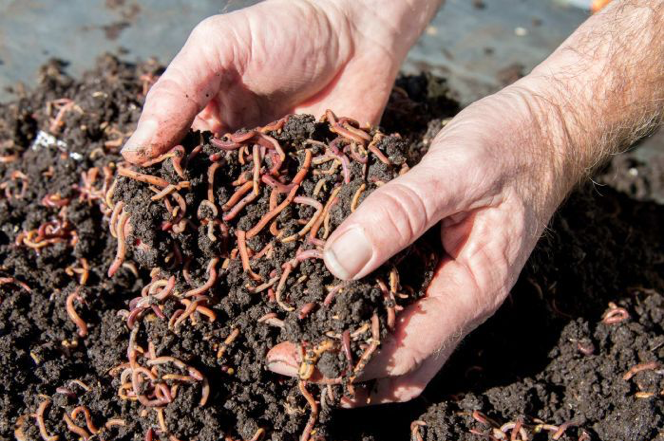
- Create a worm composting bin. It’s a fun project for the entire family to create and watch the worms do their magic!
Source: EPA.gov
